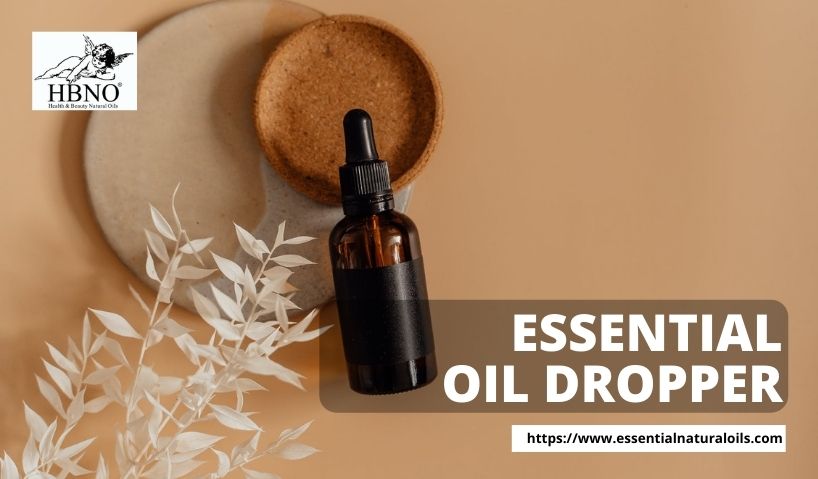
A dropper insert is assembled together with a glass dropper and robust plastic on a strong container. It's difficult to squeeze content out of a dropper which is why pipettes are commonly advised. However, if you want to keep essential oil stored, pipettes wouldn't come in handy with their rubber build.
This is why essential oil dropper bottles are significant. They are not meant to reduce the involvement of orifice but also have a great design to give users a better user experience.
Essentially, droppers come in two types: vertical and horizontal. Apart from certain differences, both come with a similar kind of entrance for air and exit for liquid. They both come with a dispensing feature that allows a better experience than any orifice reducer.
Once you decide the type of dropper insert you want to go with, you can start with the filling of the container. There are certain elements you will need here, namely an 18 DIN cap for the dropper, a dropper container with an 18 DIN neck, and a dropper insert.
When it comes to caps, there are a few styles available in the market that you will know about as you research more. But, out of all caps you can find, the most evidently common type is the tamper-evident.
How to Test if The Fit is Correct?
When you DIY a dropper bottle, it's important to know if you have done it right before you are sure about its usability. Here is a step-by-step guide to test out if you have done it right:
- Fill your DIY amber dropper bottles with any essential oil.
- Use a long tube initially to push in the dropper inside the container.
- Press the top of the dropper insert down in order to let it flush sideways at the entrance of the container. The minute the dropper insert connects with the bottle, you will hear a clicking sound
- Use a tamper-evident euro dropper cap to screw on the container. This will completely seal the bottle.
Once a user gets the cap unscrewed, it will break down the tamper-evident seal of the container. However, the dropper insert will remain attached to the container in just the way it is required even after use.
How to determine the Dropper Flow Rate
The flow rate of the dropper is essential to make sure that it does not interfere with the user experience. The dropper insert is responsible for controlling the flow rate of any oil or liquid stored inside the container. Hold the container upside down and the liquid will flow out of it within a few seconds.
In case the liquid doesn't start pouring, check the viscosity of the material as well as the surface tension.
You can also change the dropper according to the flow rate you need, whether it's high or low.
Another way to increase the flow rate is to have a bigger exit that can easily allow the passage of more liquid. On the other hand, if you want the flow rate to decrease, you can use products with thin viscosity and a smaller opening.
For vertical droppers, turn the container 180 degrees that will allow the content to fall out as air fills it in. But, if you are using horizontal droppers, turn the container about 135 degrees for the content to come out.
It does not matter which brand of dropper insert you have. What matters is that the flow rate of the carrying liquid must have the following traits:
- The first drop should easily flow out in 5 seconds.
- The drops should fall consecutively every 1 to 3 seconds.
Essential Natural Oils is a hub of droppers and bottles that you must check out now!

